Welcome to my "sample" website! If you want to visit my "real" site - it's here.
Setting up a site is a very easy and fun thing to do. It also helps in terms of putting responsibility of making up missed assignments on students and their parents.
So here are the steps you want to follow to create a site for your classes:
1. PLANNING Planning out your site is really important. A few minutes of planning will save you hours of "fixing" and "redoing". This is what I do - I sketch out the site's layout and info I want to include on each page. Look at the example on the right. 2. WEB HOSTING Web site hosting can be free or not free. Most free web hosts come with annoying ads and pop-ups. Looks like Yola does not force the adds onto your site. That's good!!! So here is the link to their site (the one I'm using for this project: Free web hosts have a limited disk space for your files. You would have to optimize large PDF files to reduce the file size. It's easy! Instructions are on this site... You can optimize images directly in Image Editing mode. 3. SETTING UP AN ACCOUNT open the Yola site and click "Get Started" 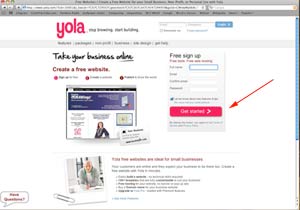 | 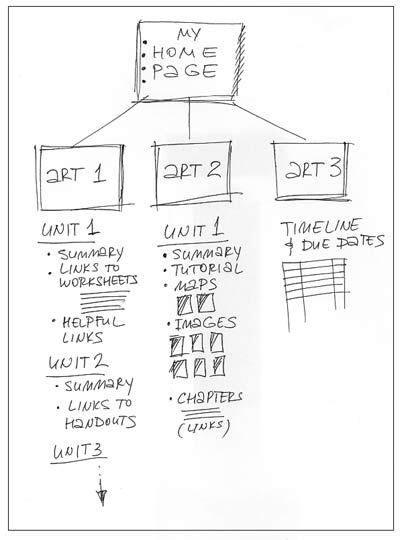 |
You will see a window like this one on the right. Pick a name for your site (like "julianna's site" or "my math classes")  | 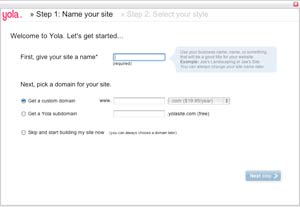 |
Next - create a domain name. Domain name is what you type in the browser, like google.com
Free domains come with "extended" addresses, like artclasses.yolasite.com
If you want an original domain, you have to pay... :)
before you get the name assigned to your site, it will check if the name is already taken by somebody else. It it is... :( ... come up with a different one until you see the sign saying it's available:

That's it! The site is set up!
4. BUILDING THE SITE
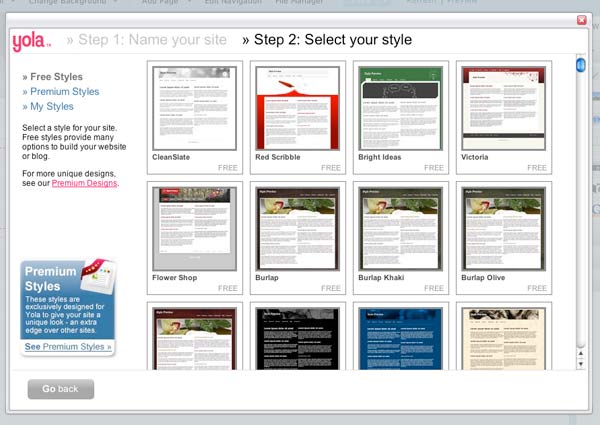
Now - the fun part! Choose a layout for your site:
If you roll over a thumbnail - it will enlarge the design for you:
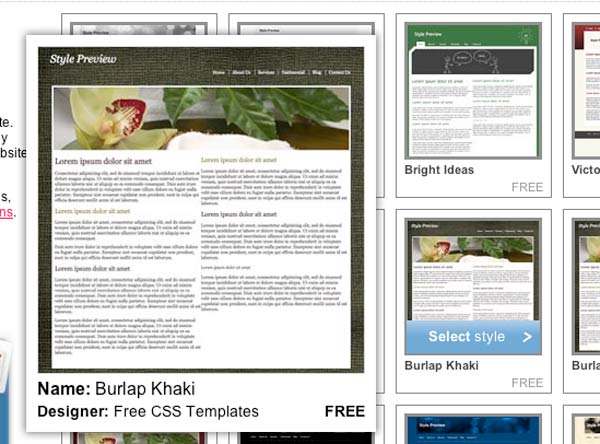
Choose a design and close the design options. Now your first page is ready!
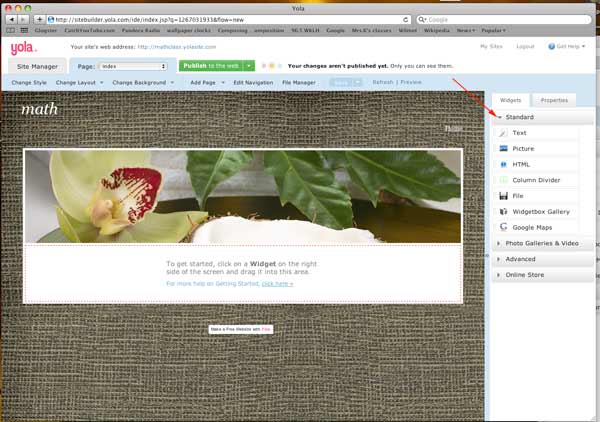
Look at the Widgets panel on the right. This is where the tools are that will let you input text fields, images, links, blogs, etc...
Look at the Widgets panel on the right. This is where the tools are that will let you input text fields, images, links, etc... | 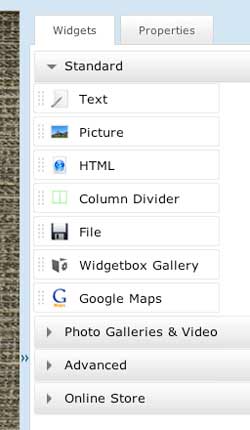 |
All you have to do is to drag a widget onto your page Like in this example - drag a text widget onto the page and start typing. After you finish typing, click save and publish buttons. It will save and upload changes on the web. | 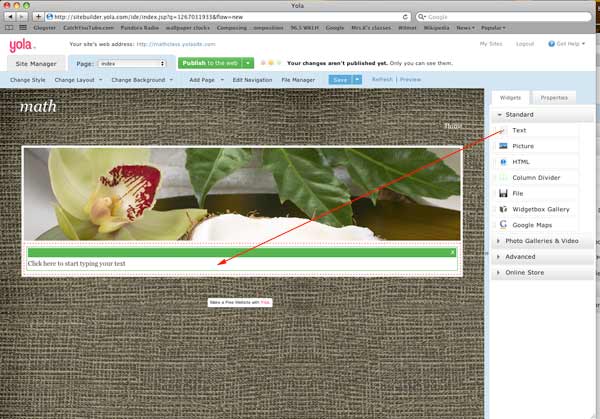 |
Same way is inserting images. Drag Image widget onto the page. | 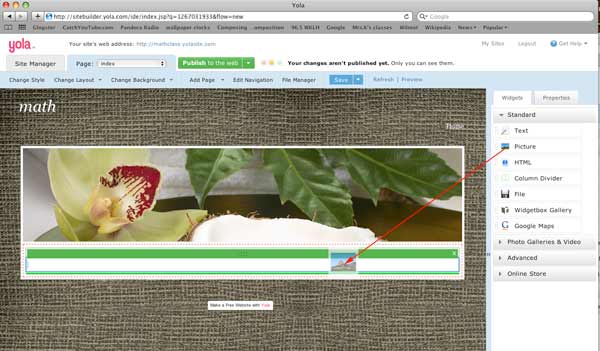 |
A window will pop up asking you to upload an image. Click "upload" ... and browse to your image on your computer | 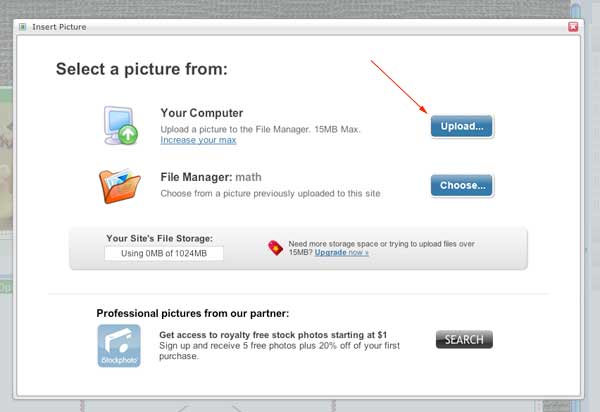 |
You can also divide your page into columns by dragging Column divider Widget | 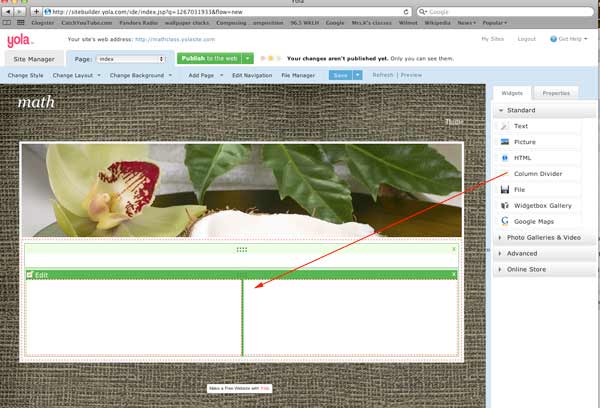 |

To add more pages to your site - click on "Add Page" button and choose WEB for a page or BLOG for a blog page
Don't forget to save and publish your site s you make changes to it.
That's it!!!